User settings
This guide shows you how to add, delete or manage users.
You can access the interface using the left hand navigation:
Click on Settings.
Under Account Settings, click on Users.
Create a new user
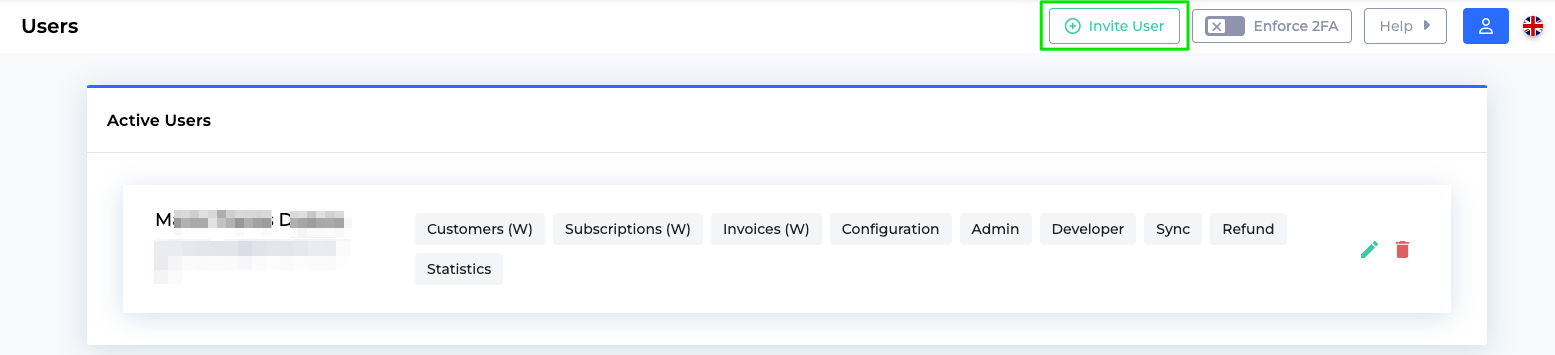
If you want to invite a user click Invite User in the top right corner.
The following Add users page opens.
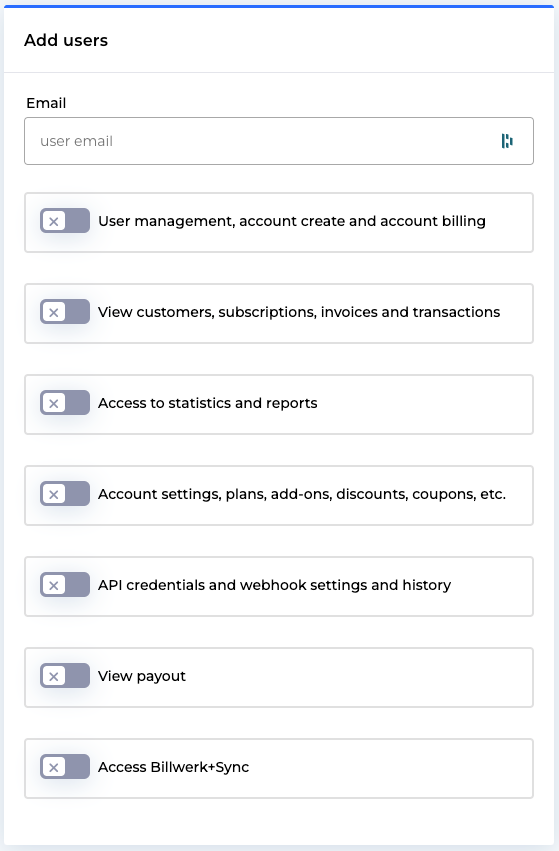
You can insert the Email address of the new user and set the authorizations.
Edit or delete a user
There are two icons at the end of each user entry:  .
.
The  icon allows you to edit a user.
The  icon allows you to delete the user.
User rights
In our application you can compose the rights per user individually according to your internal organization structure.
Below you can see the full list of rights:
User management, account create and account billing | Includes: |
View customers, subscriptions, invoices and transactions | You can add edit rights on top: |
Access to statics and reports | Allow access to these interfaces: |
Account settings, plans, add-ons,discounts, coupons, etc. | The user has : |
API credentials and webhook settings and history | Allows the user to: |
View payout | The user has access to the Payout interface and can perform payouts to customers. NoteA valid acquirer agreement supporting payouts is needed. |
Access Billwerk+ Sync | Billwerk+ Sync is only available once you are in production. |