Create additional accounts
This guide shows you how to create additional accounts in Billwerk+.
Note
Each account will be treated as a separate account.
It will be operated independently from each other and the account has to be maintained separately (eg. if you change a setting on one of the accounts, the other account will need to be updated separately).
Billing wise we will invoice the master organisation.
Sign in to the application.
Note
Please ensure that your account is live. If not, see this guide.
Click on Add account underneath the Billwerk+ logo in the upper left corner.

Enter an Account Name.
The Handle field will automatically overtake the content of the Name field. If you prefer to change it, you can click on the
 .
.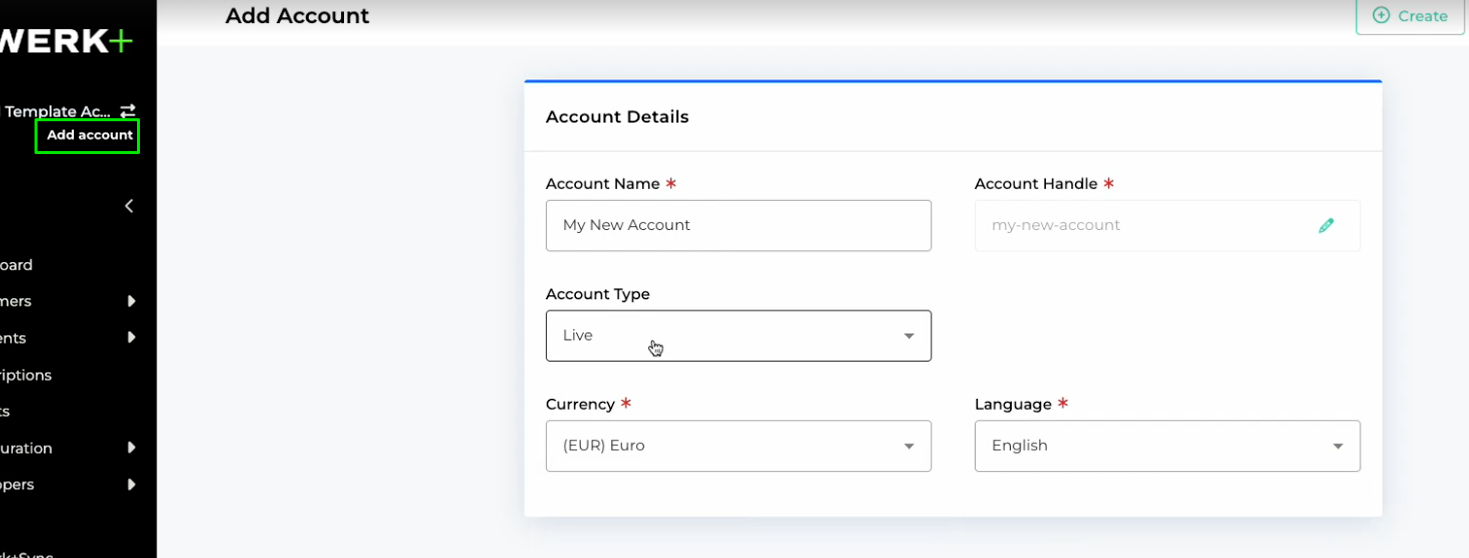
Select if your new Account should be in Test or Live mode.
If you choose Live mode, select a Currency and a Language.
Click on
 to finish the setup.