Coupons
Before you can enable a coupon for your customers, it makes sense to understand the interface fully. We will take some time to focus on that now.

Caution
To enable a customer to trigger a discount with a coupon code from your website, please create a field on your own page where the coupon can be entered and thereby included in the call to Billwerk+ Payments. Once the coupon code has been entered on your own page, you can validate whether it is valid by using: API Validate Coupon Code.
Access to the coupons interface
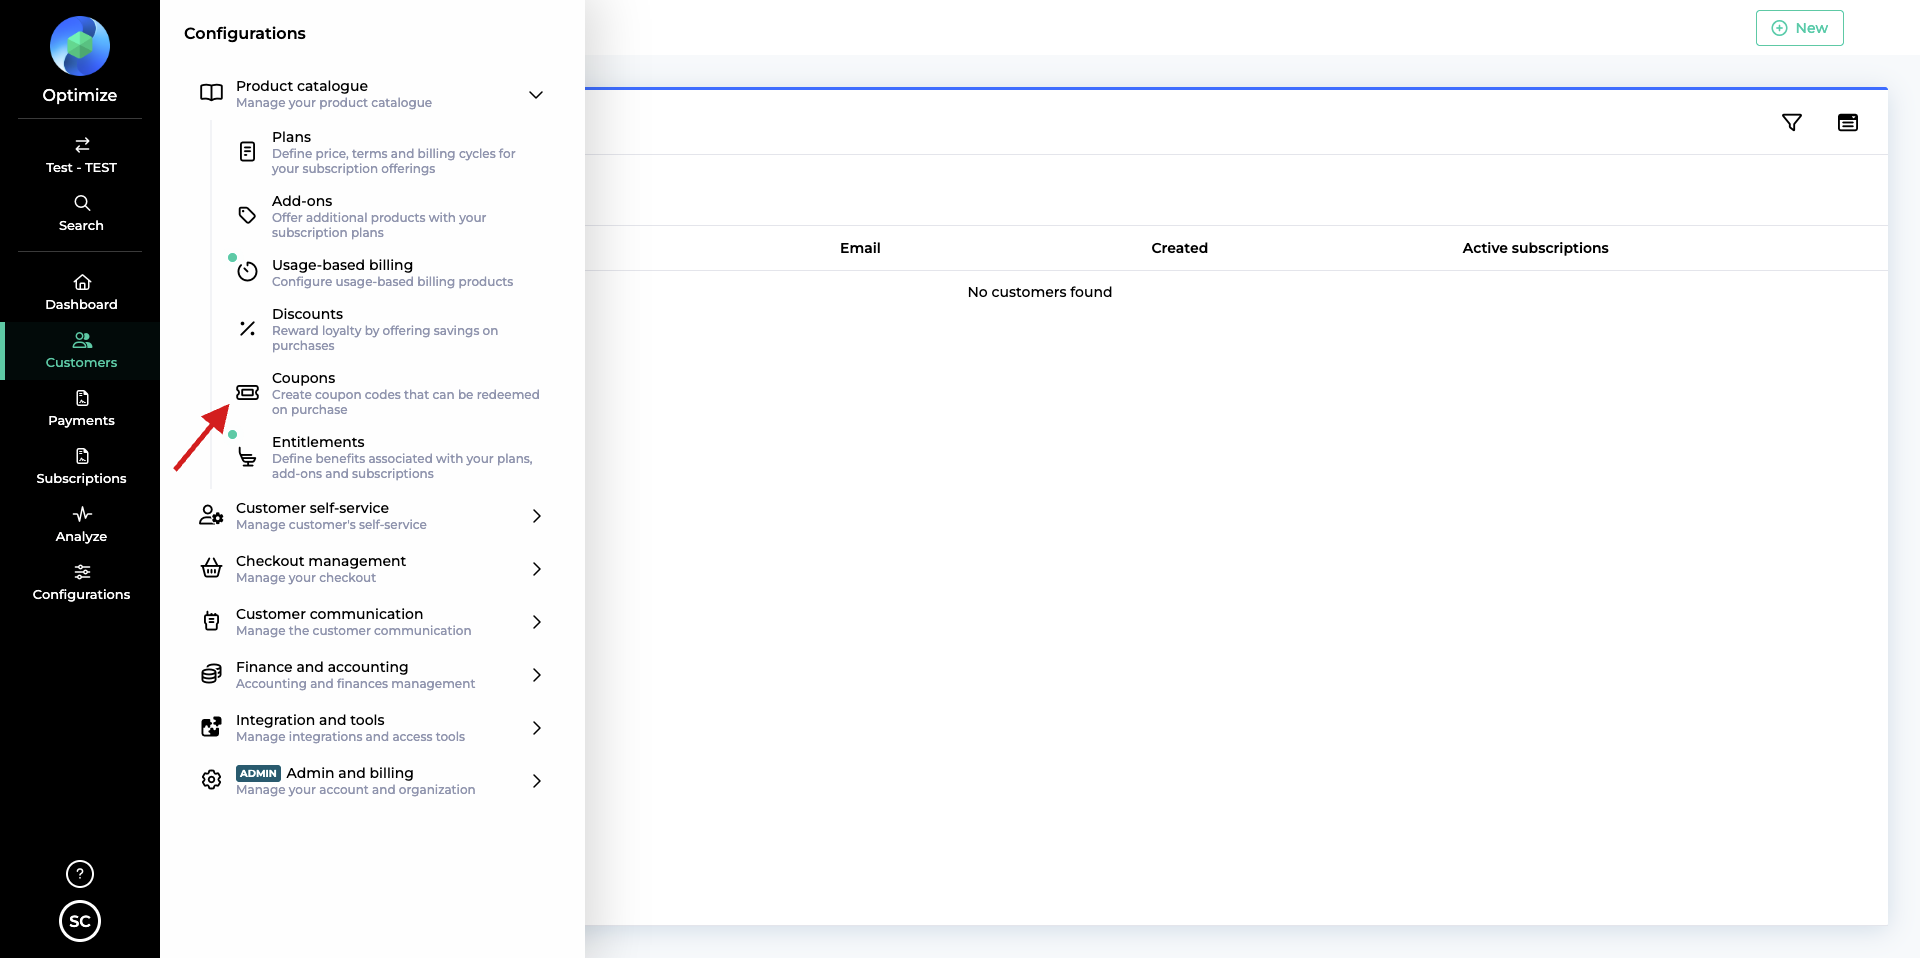
In order to access click on Configuration > Product Catalouge > Coupons on the navigation sidebar.

If you already created Coupons you will see them in this list.
Table columns of the coupons list
First of all we will go through the different columns of this table.
Status | Shows that the Coupon is active or deleted. |
Handle | API name of your coupon. |
Name | The commercial name you chose for your Coupon. |
Code | Coupon code you communicate to your clients. |
Discount | The discount that is linked to the coupon. |
Applies to | The plans it applies too. You can choose, if you would like to apply it to all plans or only to one special plan. |
Valid until | Expiration date of the coupon. |
Redemptions | How often the coupon was used. If there is a limit it will show the limit too. |
Filter the list
You can filter the list by clicking on the  icon.
icon.
If you would like to hide columns from the table, click on the  icon.
icon.
By default you can filter the list on the Creation Date.
Click on the drop down list Add filters to filter the table on any of the columns.
Create a new coupon
Caution
Before adding a new coupon, please set up a discount first.
If you would like to create a new Coupon, please follow these steps:
Click on
 .
.The Create Coupons window opens.
Insert a Name and a Handle.
Note
The Handle field will automatically overtake the content of the Name field. If you prefer to change it, you can click on the
 .
.Enter a Coupon Code that will be published to your customers.
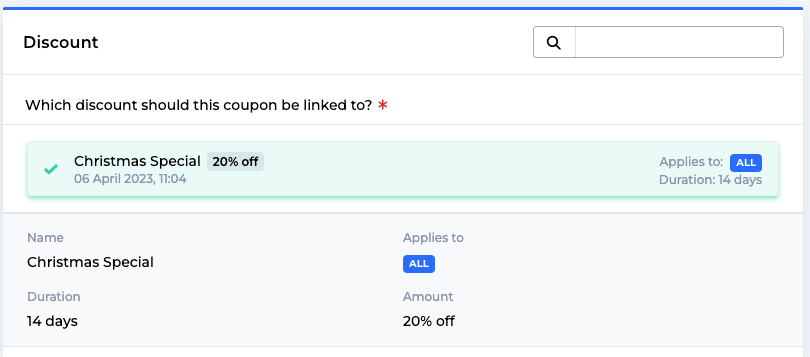
In the Discount box, decide on which discount you would like to base your coupon.
If no existing discount is found, you can follow the link Create a discount which leads you to the right interface.
If you already created one or more discounts, the interface will propose it to you directly.

Click on the discount to select it for the coupon.
In the Availability box you can select, whether you wold like to apply the coupon to all plans or only to selected plans.
Note
The Select plans box is greyed out, if there are no existing plans available.
In the Validity box, you can set if your customers can redeem this coupon:
Anytime: No limits!
Before a specific date: Set the date and time of the expiration date.
In the Redemptions box, you can decide on the maximum number of times the coupon can be redeemed across all customers:
Unlimited: There is no limit of redemption.
Limited: Click on this box to set the Number of redemptions.
Click on
 .
.A pop up confirms your changes.
Your coupon will show up in the list:

Well done!
Edit a coupon
You would like to apply some changes on your current Coupon?
Just click on the Name of your coupon in the list.
The interface is the same as for the creation of the coupon.
Apply the changes and then click on 
Delete a coupon
Caution
If you would like to disable and not to delete the coupon, please use the Validity options we discussed in the Create a Coupon section.
If you would like to delete your Coupon:
Enter the Edit Coupon interface (by clicking on the Name of your coupon in the list (see above).
Then click on
 .
.Click on the Confirm button.
A pop up confirms your changes.
In the list of Coupons the status of your discount changes to Deleted, but it stays in the list.