Payouts interface
Before you can enable a discount for your customers, it makes sense to understand the interface fully. We will take some time to focus on that now.
Summary
Access to the Payouts Interface
In order to access click on Configuration > Payouts on the navigation sidebar.
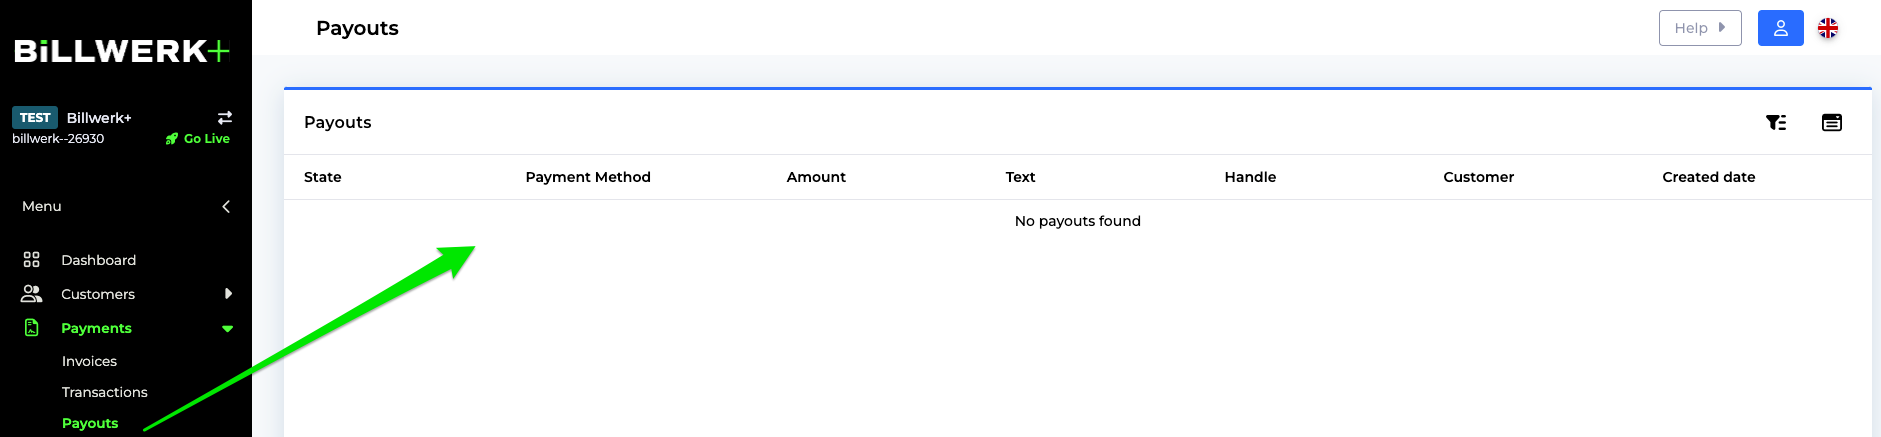
If you already created Payouts you will see them in this list.
Table columns of the Payouts List
First of all we will go through the different columns of this table.
State | Created, processing, failed, paid |
Payment Method | The method that was used for the payout. |
Amount | |
Text | |
Handle | |
Customer | |
Created date |
Filter the list
If you would like to hide or add columns to the table, click on the  icon.
icon.
You can filter the list by clicking on the  icon.
icon.
By default you can filter the list on the Creation Date.
Click on the drop down list Add filters to filter the table on any of the columns.
Creation of a new Payout
If you would like to create a new Payout, please follow these steps:
Click on
 .
.The Create XX window opens.