Invoices interface
Summary:
Access to the Invoices interface
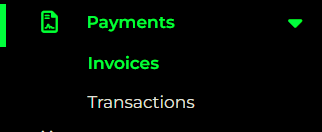
In order to navigate to the invoices list, click on Payments and then Invoices :

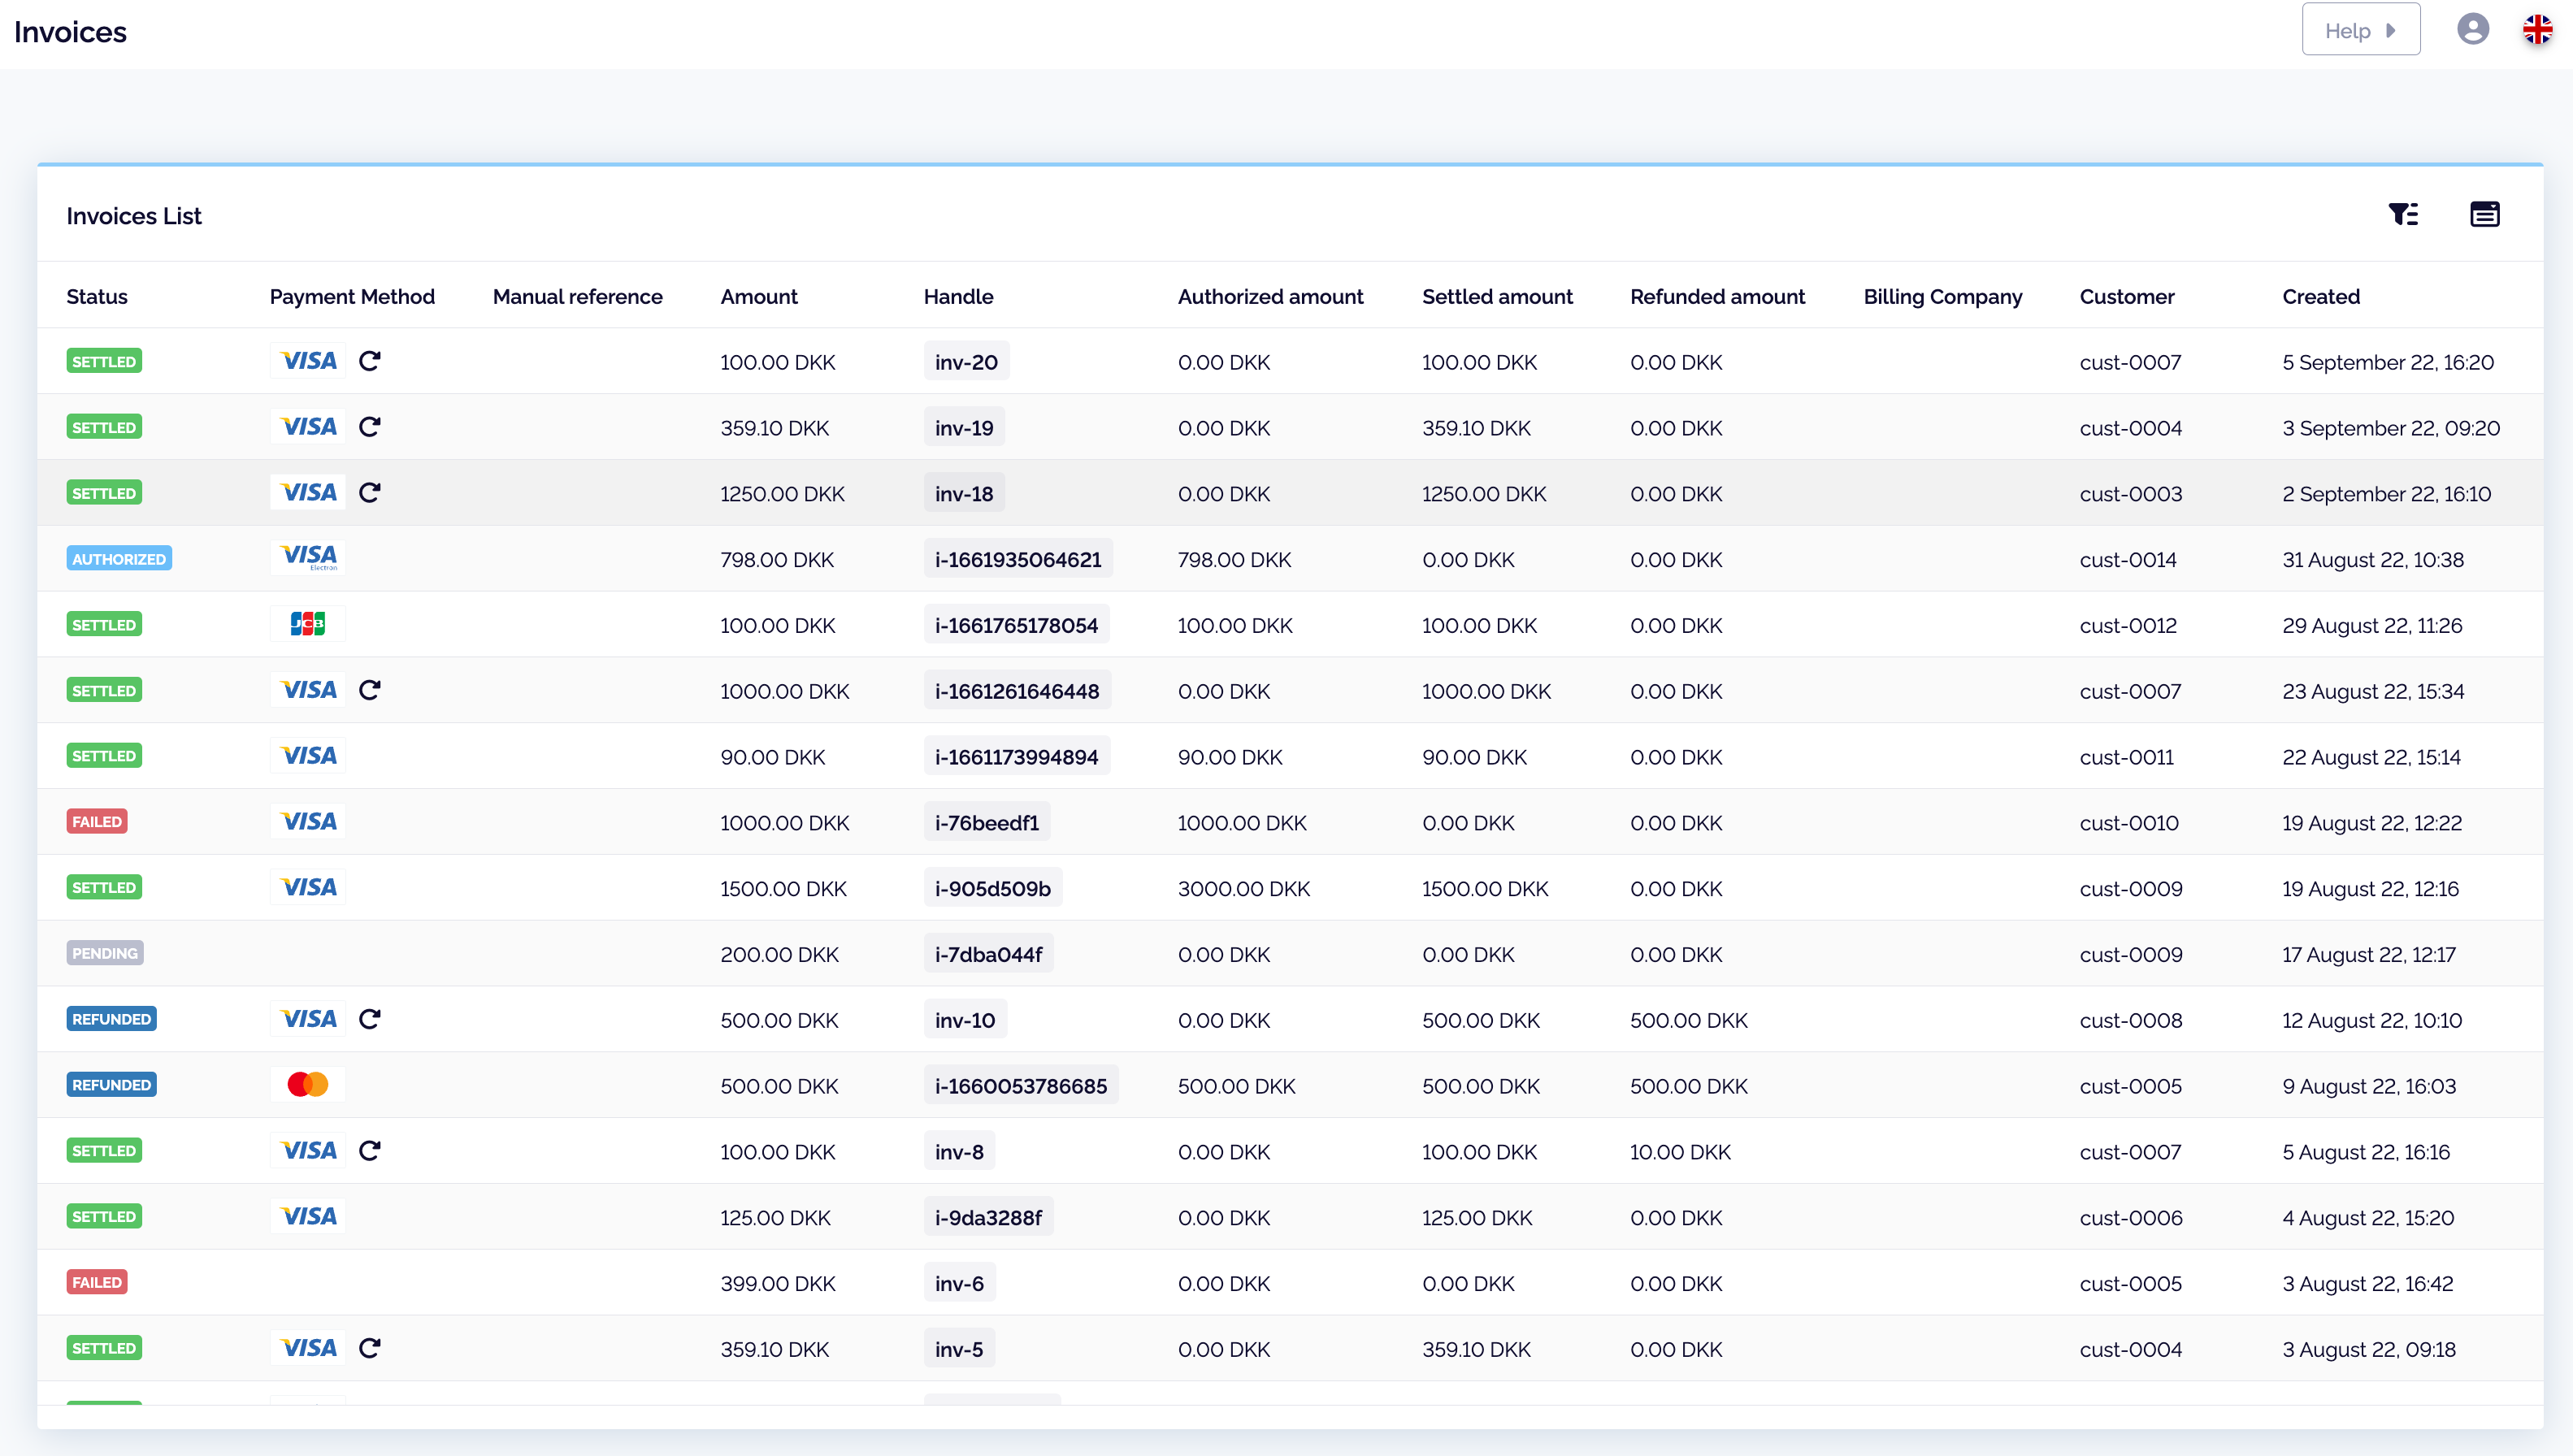
The Invoices List will give you an overview of all your invoices ;

Table columns of the Invoices List
Here you can find the meaning of each fields that can be found in the columns below.
Status | The state of the invoice. Learn more about the different states here. |
Payment Method | A logo of the used payment method will be shown here. The little arrow tells you, that this invoice is tied to a subscription. |
Manual Reference | If a reference is added manually, it will be shown here. |
Amount | The total amount on the invoice. |
Handle | Every invoice created gets an invoice number/handle, this handle is auto-created unless you have built your own integration. You would typically use this filter to find a specific invoice. |
Authorized amount | The authorized amount. |
Settled amount | If the invoice has been settled, fully or partially, the settled amount will be stated here. |
Refunded amount | If the invoice has been refunded, fully or partially, the refunded amount will be stated here. |
Billing company | The billing company |
Customer | Customer handle attached to the invoice* |
Created | Time stamp of the creation date |
Filter the list
If you would like to hide or add columns to the table, click on the  icon.
icon.
You can filter the list by clicking on the  icon.
icon.
By default you can filter the list on the Creation Date.
Click on the drop down list Add filters to filter the table on any of the columns.
Read here more details on the fields you can filter on.